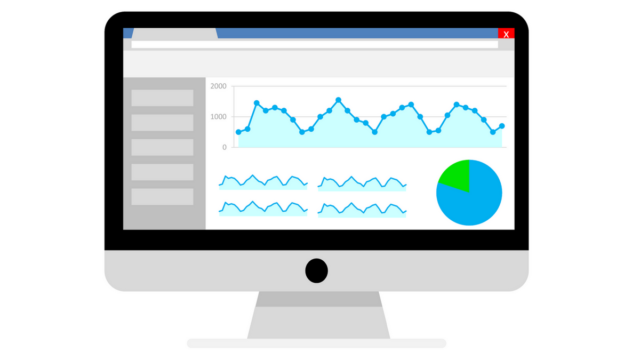
Tracking is essential for any digital marketer trying to increase web performance. If you can’t track a form, popup, purchase, or widget on your site, then how can you know what’s working and what isn’t?
Luckily, Google Tag Manager (GTM) can help track anything online. Here’s our step-by-step guide for tracking the un-trackable!
Step 1 – in-built GTM tracking
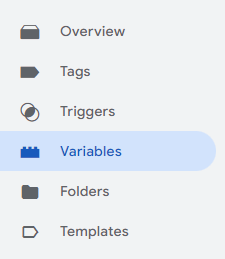
Google Tag Manager will track all clicks and page URLs without any special setup. These can be used to trigger tags when variables match certain criteria:
For example, we could track all clicks on a phone number “tel:” link: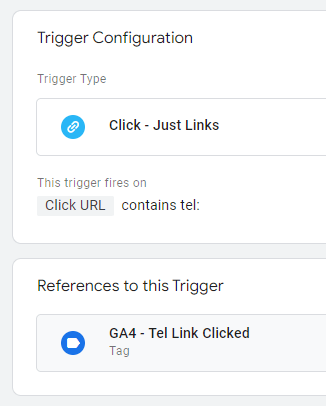
If you’re tracking a form, then use GTM’s Preview Mode to see if a ‘Form Submit’ event is triggered when submitting the form: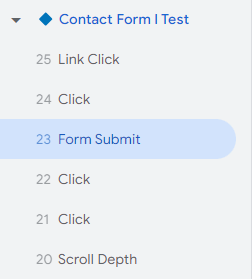
It’s best practice to ensure the Form Submission trigger only works on intended pages and with intended forms: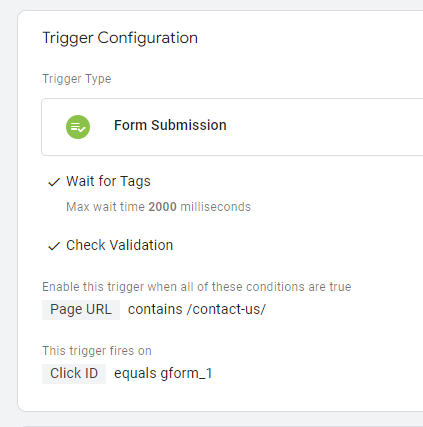
Step 2 – thank-you/success page URLs
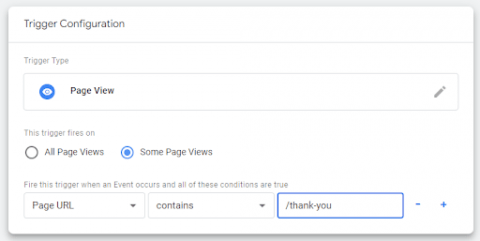
If the previous step didn’t work, then the next port of call is to track the thank you or success page URL after the action has been completed by the user:
 Most forms and widgets have the ability to forward users to another URL once a submission has been made – this setting often has to be enabled within the CMS.
There are a few caveats in using thank-you/success page URLs for tracking, such as:
- If the URL ever changes on these pages, tracking will break (this often happens!)
- Internal users updating the content on these pages could accidentally trigger many conversions
- If the thank-you/success page gets visited multiple times by the same user it could lead to many spam conversions being recorded
Step 3 – Data Layer variable changes
If you can’t track a URL change, then you can look at the variables in GTM’s Data Layer to see if any variables change when the action is performed.
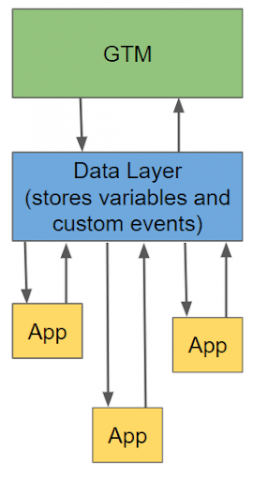
Many ecommerce tracking tools will place data in the Data Layer, showing which item has been viewed, added to the basket, bought, etc. This method can be used for non-ecommerce tracking too: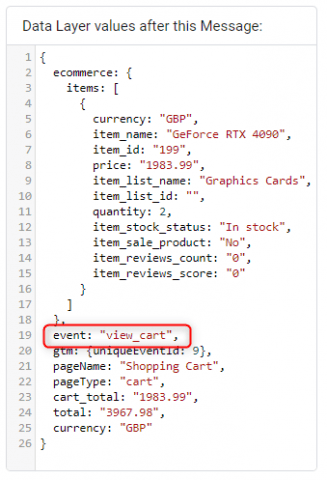 If you are unfamiliar with the Data Layer, then it acts as a handy conduit between web apps and Google Tag Manager and can be used by any party:
 Step 4 – element visibility changes
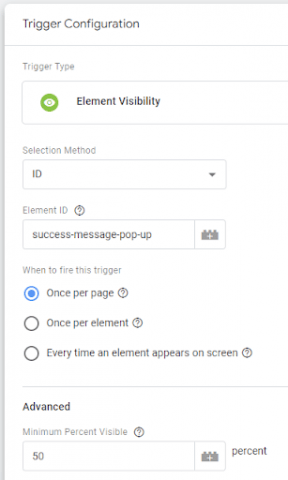
If there are variable changes in the Data Layer then you may have to rely on element visibility changes to track your KPI.
This is especially useful for popup messages, or pages which use the same URL for several steps of a process, such as a quote tool widget:
 Again, this method of tracking can lead to issues down the line, such as:
- The code for the element changing in the future and no longer being tracked
- The code for the trigger being used on another part of the website leads to many instances of false tracking
- The forms or widget switching to a thank you page instead of using a popup in the future breaks tracking
Rely on this if you have to, or try step 5 below for a more robust method…
Step 5 – follow the guides
If you can’t rely on element visibility tracking, then the next step is to hit your favourite search engine and find documentation on the tool you’re trying to track.
A simple search such as “[tool name] GTM tracking guide” will usually do the trick.
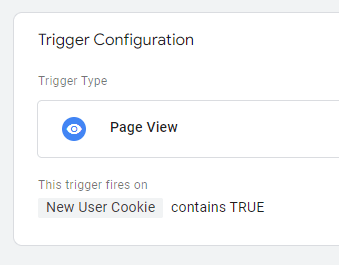
You may discover that the tool has a way of communicating with it via JavaScript functions and API calls, or the tool may integrate directly with common tracking software such as Google Analytics: 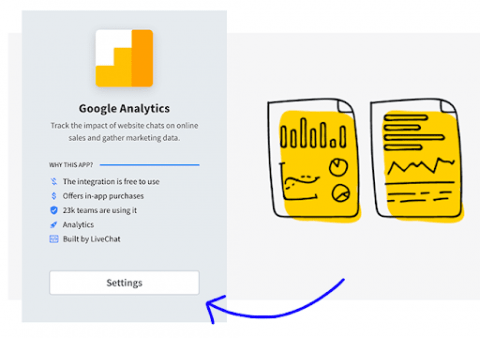 Another way of measuring changes to third-party tools is to look at any first-party cookie changes when an action is performed and use them as triggers.
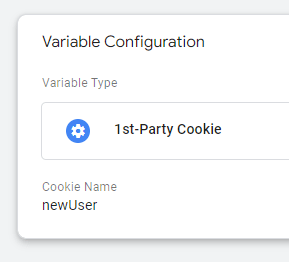
Set the cookie contents as a variable and then trigger when the cookie has the correct contents:
 Step 6 – add custom GTM event code
If technical guides don’t reveal any solution, or you have a unique custom tool to track, then you will have to rely on a developer to add custom GTM event code directly on the action you wish to track.
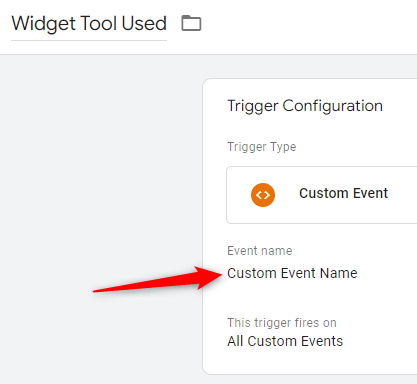
The JavaScript code below sends a custom event directly to Google Tag Manager. Inside GTM we can use this as a trigger for any tracking required:
window.dataLayer = window.dataLayer || [];
window.dataLayer.push({
event: ‘Custom Event Name’
});
If you can edit the core code behind a tool you wish to track it gives you the luxury of tracking any of the following actions:
- Form field clicks
- Form field inputs
- Button clicks
- Page/screen shown
- Drag action
- Scroll actions
- Tooltip hover overs
- Etc.
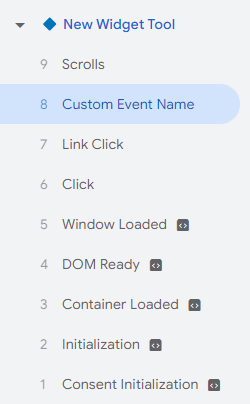
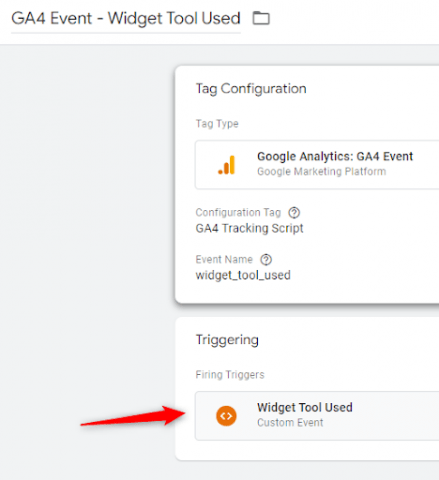
Once this custom GTM event code is running it will create a brand new custom event in GTM, which you can trigger from:
Step 7 – ask for help
If you can’t add a custom GTM event via a web developer then it’s time to re-think whether you should replace the thing you are trying to track with something easier to track, or ask for help externally.
Nothing is impossible to track, but finding the solution can sometimes be a challenge unless you’ve come across the issue before.
Our experts are happy to provide a helping hand.