Recently, I wanted to add Schema Markup to a client’s website but encountered a problem: their site is built on an old version of WordPress and uses an old SEO plugin that doesn’t support schema.
Not wanting to undo all the SEO work on the site, I didn’t want to remove the plugin and add a new one, in case any valuable data was lost and their rankings were affected. Also, I couldn’t find a schema plugin that would work on their site.
Cue the answer to all my problems, and possibly my favourite tool: Google Tag Manager. With a little research and no need to contact the IT department, the job was done in around 10 minutes!
So let’s back up a second, as you may be asking yourself “what is schema markup?” and “what is tag manager”? I’ll briefly provide you with an overview of what these are, then show you how to add schema to your site with Google Tag Manager. It’s surprisingly very simple despite sounding difficult, so bear with me.
What is Schema Markup?
Originally developed when the world’s leading search engines collaborated to create a simple, comprehensive way of categorising and displaying information on different websites, schema markup adds structured data to a site.
Structured data is information that is written and formatted in such a way that it can be universally understood by search engines.
Having schema on your website is becoming increasingly important nowadays, as it’s used by search engines to easily understand your website in order to display information about you in search engine results pages. This includes information like organisation details, reviews from other sources and articles.
Search engines are becoming increasingly reliant on it to understand pages: gone are the days of messy code. It’s an aspect of technical SEO that’s very simple to implement and is necessary in order for you to compete in search engines.
There are a multitude of types of schema markup. In this post, I’m going to focus on “Organisation” – structured data which describes your business to search engines (name, address, contact info etc) and is very useful for local SEO.
What is Tag Manager?
Google Tag Manager (GTM) is a free tool provided by Google which makes it easy for webmasters and marketers to add and update website tags. In other words, it lets you add code snippets to the site, without actually having to change the code on the site. There are many ways to use GTM, but most businesses use it for event tracking, as a means of measuring the success of their digital marketing strategy.
These are the basic components of Google Tag Manager:
- The Data Layer: a sort of database that stores all of the information that you wish to record about how users are behaving on your site and how they are interacting with your content. This data is then sent to Google Analytics using GTM, meaning that you can then see this behaviour in Analytics.
- The Container: this is basically the element that “contains” your set of macros, rules and tags.
- Tags: A tag is HTML code that fires on a page when that page is viewed by a user.
- Triggers: This is essentially the rule that you create which specifies when a tag should be fired on a website (for instance, when a specific page is viewed or a button is pushed).
- Macros– A pre-defined set of conditions that allow rules to be executed.
Here is Google’s own guide on how to create your GTM account and set up your first container.
Now Add Schema Markup to your site Using Tag Manager
So, now that you understand the basics, and have got your tag manager account set up with it’s container – here’s how to do add schema markup to your site via GTM.
- Create the schema
- First things first: the following is an example of organisation schema code. Copy the example that has Hallam info within it, paste it into notepad and simply change the company information to your own company info.
<script type=”application/ld+json”>
{ “@context”: “http://schema.org”
“@type”: “Organization”,
“name”: “Hallam”,
“url”: “https://www.hallaminternet.com/”,
“logo”: ” https://www.hallaminternet.com/assets/google-tag-manager-logo-300×135.jpg”,
“foundingDate”: “”,
“founders”: [
{
“@type”: “Person”,
“name”: “Susan Hallam”
},
{
“@type”: “Person”,
“name”: “”
} ],
“address”: {
“@type”: “PostalAddress”,
“streetAddress”: “The Clock Tower, Talbot Street”,
“addressLocality”: “Nottingham”,
“postalCode”: “NG1 5GG”,
“addressCountry”: “UK”
},
“contactPoint”: {
“@type”: “ContactPoint”,
“contactType”: “customer support”,
“telephone”: “[+440115-948-0123]”,
“email”: “info@hallam.co.uk”
},
“sameAs”: [
“https://www.facebook.com/HallamInternet/”
“https://twitter.com/HallamInternet”,
“https://www.linkedin.com/company/hallaminternet”,
“https://plus.google.com/+Hallaminternet”
]}
</script>
- Create the trigger and tag in GTM
Once you’ve logged into your Tag Manager account:
1. Select the container you wish to make changes to.
2. Create a new tag to add the schema to.
3. Click to add a trigger: create a new trigger set to “page view” and then “all page views”.
4. Go back to you dashboard and do the following:
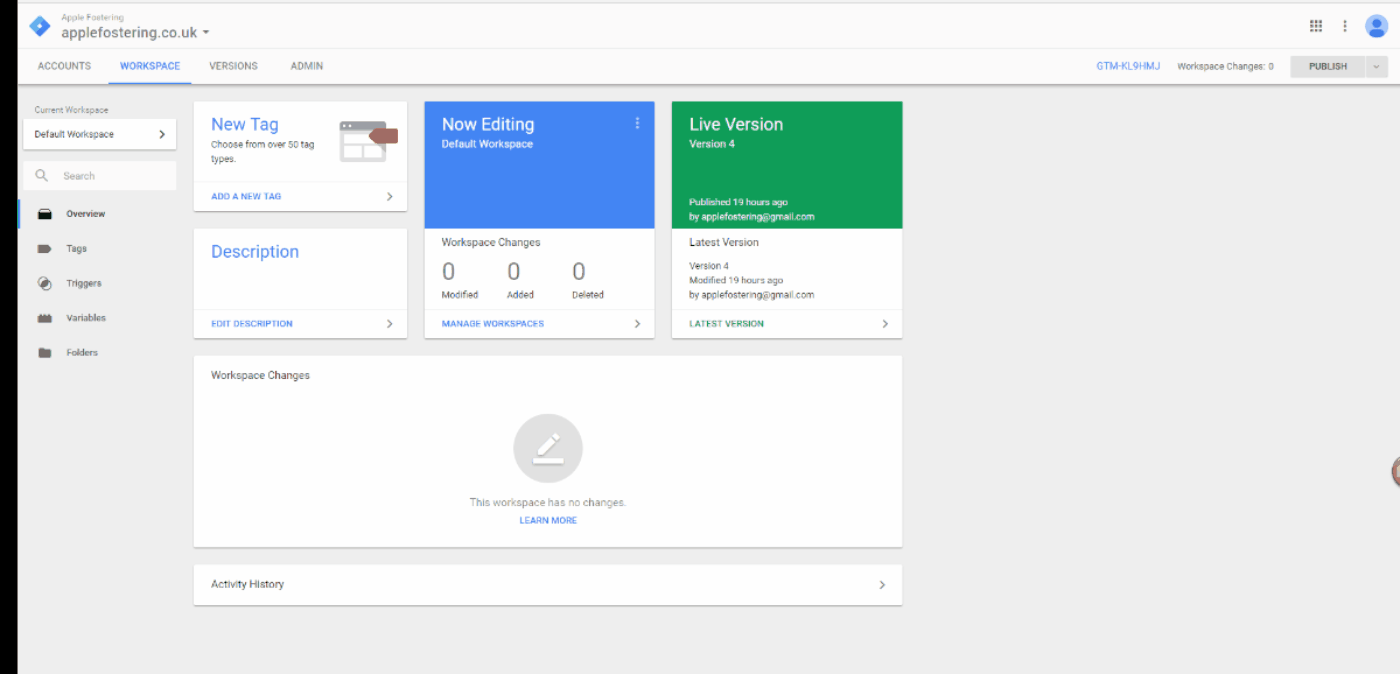
5. Once you’ve clicked preview and debug mode (which is there to check the changes are working before you set them live on the site), load up your website and at the bottom of the page a box will notify you about whether or not your tag worked. If it didn’t, go back through each step and check that you set the tag up correctly. If it worked, go ahead and publish it!
6. Once published, go to Google’s Structured Testing Tool, add your website’s URL and it’ll tell you’ve whether the schema is working on the site in the results panel. And that’s it, you’re done!